

Learn how to prepare your RV for an insurance claim with this step-by-step checklist covering documentation, filing, adjuster prep, and negotiation tips for Central Texas RV owners.
TL;DR:
- Thorough documentation and quick response increase the chances of a fair RV insurance settlement.
- Texas law allows owners to choose their repair shop and prohibits permanent repairs before adjuster inspection.
- Proper preparation, evidence, and negotiation skills are key to maximizing RV claim payouts.
An unprepared RV owner can wait months for a payout, or worse, receive a settlement that barely covers half the repair bill. In Central Texas, where spring hailstorms and highway collisions can send a motorhome straight to the shop, the stakes are real. RV claims routinely run well above $5,000, and insurers are trained to pay as little as they can justify. The good news: following a proven preparation checklist puts the leverage back in your hands and gets your rig repaired faster.
Table of Contents
- What you need before starting your RV insurance claim
- How to file your RV insurance claim efficiently
- Preparing your RV and paperwork for the insurance adjuster
- Post-inspection: What to expect and how to negotiate
- What most RV owners miss: Documenting for leverage and using your rights
- Need expert help with your RV insurance claim?
- Frequently asked questions
Key Takeaways
| Point | Details |
|---|---|
| Document everything | Clear photos and records are the foundation for a successful RV insurance claim. |
| Don’t rush repairs | Only make temporary fixes until the adjuster has inspected your RV. |
| Shop choice is yours | In Texas, you have the legal right to pick your preferred RV repair shop. |
| Negotiate smartly | Review your insurer’s offer in detail and be prepared to negotiate for a fair settlement. |
What you need before starting your RV insurance claim
The moments right after damage are more important than most owners realize. Your first job is safety. Check yourself, your passengers, and any bystanders before you do anything else. If there is a gas smell, a downed power line nearby, or visible frame damage, move everyone away from the vehicle immediately.
Once everyone is safe, stop additional damage from occurring. A torn roof skin or a broken window left open to rain will complicate your claim. Cover exposed areas with a tarp and use painter’s tape or foam to seal gaps temporarily. Damage documentation tips confirm that you should prioritize safety, prevent further damage with temporary measures, and thoroughly document with photos and videos before anything else.
Now, photograph everything. Walk completely around the RV, shoot from multiple heights, and capture close-up and wide-angle shots. Record a timestamped video walkthrough narrating what you see. For hail, check out the RV hail repair steps that explain exactly which areas to inspect first. Note the location, weather conditions, time of day, and your vehicle identification number and license plates.
| Item to document | Why it matters |
|---|---|
| Timestamped photos (all angles) | Establishes damage scope at time of incident |
| Video walkthrough | Hard to dispute with motion evidence |
| Incident details (location, conditions) | Supports timeline and fault context |
| Pre-damage photos or records | Proves prior condition |
| Maintenance records | Counters wear-and-tear arguments |
| Receipts for recent upgrades | Increases replacement value |
Pro Tip: Never make permanent repairs before your insurer’s adjuster has inspected the RV. Texas law does require insurers to reimburse reasonable mitigation costs like tarping, but permanent work before inspection can give them grounds to reduce your payout.
Texas insurers are legally required to cover the cost of reasonable emergency measures you take to prevent further damage after a covered loss.
How to file your RV insurance claim efficiently
Once you have your documentation in order, contact your insurer through their official channel. That means their dedicated claims phone line, mobile app, or website portal, not a general customer service number. Using the official channel creates a timestamped record and routes you directly to the claims department.
When you call or submit, have your facts ready. You need the date, time, and exact location of the incident, a factual description of what happened, your policy number, and your contact details. Do not speculate about blame or accept liability on the call. Stick to what you observed. Insurance claim step-by-step guidance recommends filing promptly via phone or app, providing all confirmed facts, obtaining your claim number, and understanding that the adjuster works for the insurer.
Here are the key steps for reporting your claim:
- Gather your policy number and all incident facts before calling.
- Use the insurer’s official claims channel (phone, app, or online portal).
- Provide a factual description without guessing at fault or damage causes.
- Request and record your claim number before ending the call.
- Ask for the assigned adjuster’s name and direct contact information.
- Confirm the expected timeline for next steps from the insurer.
Pro Tip: Be precise and factual on every call. If you do not know the answer to a question, say so. Speculation on a recorded line can cost you later.
If you want help navigating RV insurance claim repair in Texas from a shop that already knows how to work with adjusters, that connection is worth making early.
Preparing your RV and paperwork for the insurance adjuster
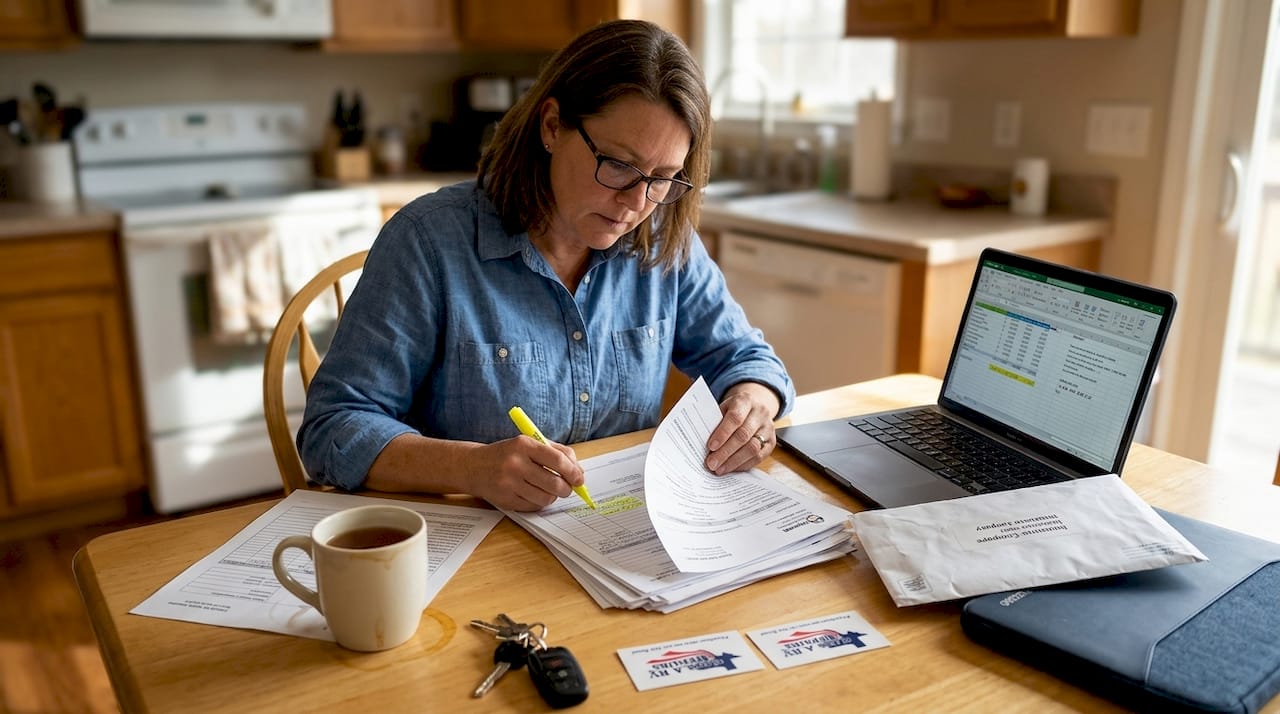
The adjuster will visit to assess the damage and determine what your insurer owes you. How prepared you are on that day has a direct impact on the outcome. Think of it as a presentation. Your job is to make it impossible for them to miss or minimize any damage.
Organize a documentation packet before the inspection. Include:
- Chronological photos and video evidence from the incident
- A written timeline of events
- Your pre-damage records, photos, and prior inspection reports
- At least one estimate from a qualified RV repair shop
- Receipts for any temporary repairs or mitigation work
- Maintenance logs showing your RV was in good condition
According to RV adjuster prep guidance, organizing records and obtaining estimates from RVTI-certified shops adds credibility because supplemental claims for hidden damage are common in RV repairs.
| Estimate source | Insurance acceptance | Credibility |
|---|---|---|
| RVTI-certified RV shop | High | Strong |
| General auto body shop | Mixed | Moderate |
| Insurer-preferred vendor | Automatic | Biased toward low |
Also review the bodywork repair DIY process so you understand what repairs actually involve, and check Central Texas RV repair costs to know whether the adjuster’s estimate is realistic.
Pro Tip: In Texas, you have the legal right to choose your own repair shop. Your insurer cannot force you to use their preferred vendor.
Post-inspection: What to expect and how to negotiate
After the adjuster’s visit, you will receive a claim offer. Do not treat it as final. RV claims average higher severity than standard auto claims, and supplements for hidden damage discovered during repair are routine, especially with hail and collision incidents in Texas.
Stat: RV insurance claims regularly exceed $5,000 and often require multiple rounds of supplements as repair shops uncover damage behind walls, under slideouts, or beneath the roof membrane.
Follow these steps after your adjuster visit:
- Read the settlement offer carefully and compare it line by line to your repair estimates.
- Request a fully itemized claim worksheet from your adjuster.
- Flag any missing items, undervalued labor rates, or excluded parts.
- Submit a written counter with your supporting documentation.
- If hidden damage is found during repairs, file a supplement claim immediately.
- For complex disputes or repeated lowball offers, consult a licensed public adjuster.
Review the average RV repair costs for Central Texas so you can benchmark the offer against actual market rates.

Pro Tip: Consider a public adjuster if negotiations stall. They work for you and take a percentage of your final settlement, which aligns their incentive with getting you a fair outcome.
What most RV owners miss: Documenting for leverage and using your rights
Here is what years of working with insurance-related RV repairs in Central Texas has shown us: the owners who get the fairest settlements are not the ones who negotiate hardest. They are the ones who showed up with bulletproof documentation.
Adjusters default to minimal offers when evidence is thin. They cite wear and tear, deferred maintenance, or pre-existing damage. Your documentation is what shuts those arguments down. Texas TDI enforces fair claims practices, meaning you have real protections, but only if you can prove your position.
Know your Texas insurance consumer rights and make sure you protect your RV claim rights from the start. The single most powerful defense is documentation, not negotiation skills.
Need expert help with your RV insurance claim?
Filing a claim is stressful enough without fighting for a fair payout on your own. At Class A RV Repairs, we work directly with insurance companies on your behalf and have hands-on experience with hail, collision, and body damage repairs across Central Texas.

Our team provides detailed repair estimates that hold up to adjuster scrutiny, handles supplement claims, and gets your RV back on the road fast. Explore our RV insurance repair service, check your Central Texas RV repair options, or use our RV repair cost calculator to understand what your repair should cost before the adjuster shows up.
Frequently asked questions
What documents do I need to prepare my RV insurance claim?
You will need photos and videos of the damage, a written incident description, pre-incident records, repair estimates, and maintenance history. Maintaining pre-incident records and proof of upgrades helps establish your RV’s condition before the loss.
Can I choose my own repair shop or must I use my insurer’s?
In Texas, you have the right to select your own RV repair shop regardless of the insurer’s preference. Shop choice is yours under Texas law, and the insurer cannot legally force you to use their vendor.
Should I repair my RV before the insurance adjuster inspection?
Never make permanent repairs before the adjuster has finished their inspection. Do not make permanent repairs before inspection, but temporary fixes like tarping are both allowed and encouraged to prevent further damage.
What do I do if the insurance offer seems too low?
Request an itemized estimate, compare it to your own shop’s figures, and submit a written counter with supporting documentation. Negotiate initial offers with itemized estimates, and consider hiring a licensed public adjuster if the dispute is complex or ongoing.
Recommended
- RV insurance claim repair in Texas: Get fast, expert service
- RV bodywork repair tutorial: DIY steps for lasting results
- RV Hail Damage Repair: Restore and Protect Your RV
- RV Collision Repair – Class A RV Repairs
- How to handle accident claims in Georgia: step-by-step
Jean runs growth strategy at AimSetWin, a performance marketing agency specializing in local service businesses across Texas. he's helped plumbers, HVAC companies, pest control operators, and home service brands build predictable revenue systems using data-driven advertising and conversion optimization.


